|
|
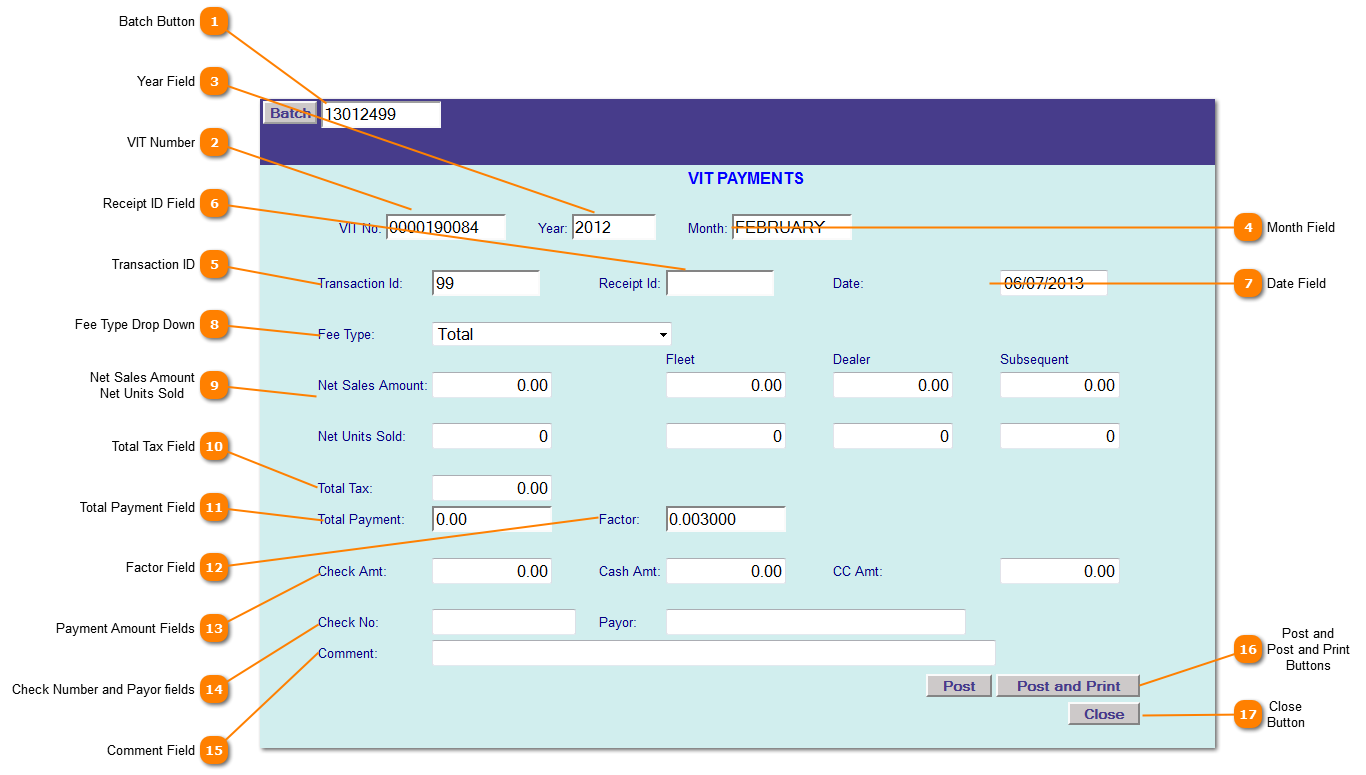
 Batch Button
Create a new batch by clicking the Batch button (Batch file created or chosen will be displayed here.
| |
 VIT Number
This is the VIT number that is populated by the users account information.
| |
 Year Field
This is the year you chose when you brought up the VIT account information.
| |
 Month Field
This is the month you chose to update.
| |
 Transaction ID
A system generated (non editable) sequential number that has 1 added to it every time you post. This is necessary if you are going to make subsequent adjustments to the payment.
| |
 Receipt ID Field
The Receipt ID is a data entry field for the user to put any control information in they desire.
| |
 Date Field
This is the date you the payments were made, not necessarily the date that pre-populates.
| |
 Fee Type Drop Down
This is where you choose which type of fees to post the payment to.
NOTE: If they are a multi faceted dealer, they must enter details under the specific type and then make an additional TOTAL entry for all the detail entries added together.
| |
 Net Sales Amount Net Units Sold
Breakdown of sales (number of units sold) for this month. From State Form 50-246 step 4.
| |
 Total Tax Field
This is the Total Unit Property Tax due
| |
 Total Payment Field
This is the amount paid by the dealer. It can include cash, check and credit card payments.
| |
 Factor Field
Initially the Factor is the tax rate that is calculated by the county at which the motor vehicle dealer will be taxed.
NOTE: This Factor amount can be changed by the dealer based on sales so they don't over or under pay their VIT taxes.
| |
 Payment Amount Fields
Enter the amount of payments made here.
| |
 Check Number and Payor fields
Enter any check information here
| |
 Comment Field
Enter any comments here
| |
 Post and Post and Print Buttons
Click to POST the payment
Click to POST and PRINT the payment
| |
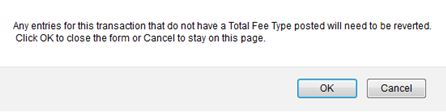
 Close Button
Click to CLOSE this screen. You will receive a close warning message.
| |
|
|