| < Previous page | Next page > |
How To... Add Multiple Adjustments to an Account
Select "Adj. and Refund" from the Main Menu
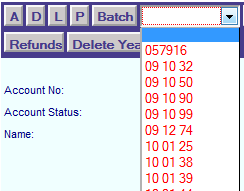
Select a "Batch ID" from the drop down box or see "Create or select a Batch ID" to create a new batch ID.
 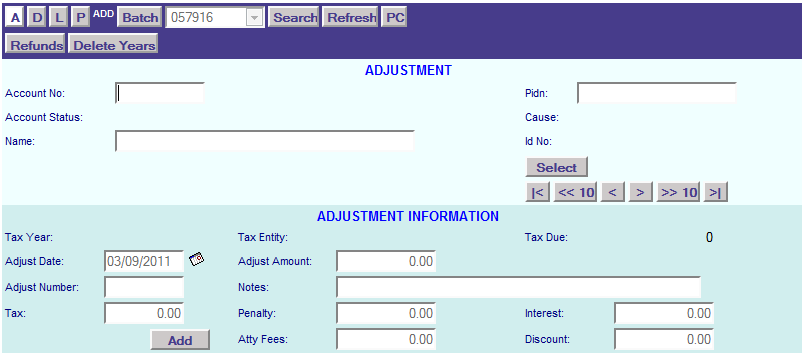
If the information entered is a direct hit on an account in the database, the account information will appear on the Adjustments screen.
If the information entered has multiple possibilities, the possible candidate's screen will appear to scroll through to find the account to be selected (See also the instructions on How To … Find an Account record for more information).
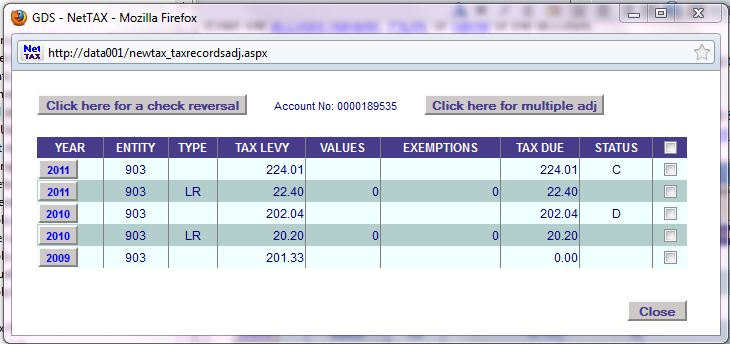
Put a check mark in the box for the year, entity and type of the tax record's to be adjusted. Then click on the button "Click here for multiple adj".
NOTE: The TYPE column refers to other charges or other payments that are on the account. These other charges can be found on page 3 of the account.
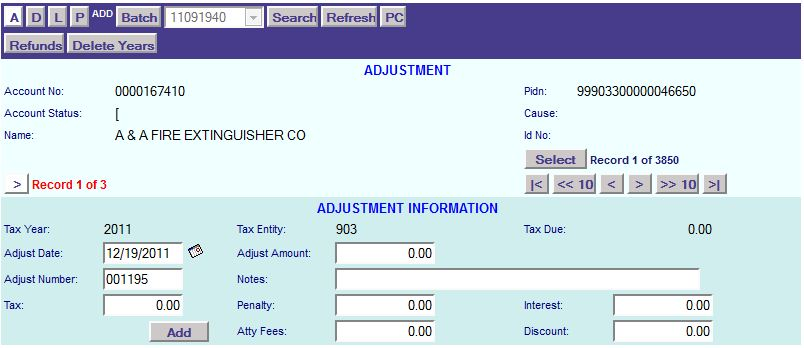
Note: Notice the "[>] Record 1 of 3". After entering the adjustment information and clicking on the add button, click on the "[>]" button to go to the next record.
Enter the date of the adjustment.
Enter the adjustment amount.
Note: The adjust amount will include any discounts. The total of the tax plus penalty plus interest plus attorney fees plus discount amounts will be your adjust amount.
The adjust number is auto generated or you can enter the check number of the check being issued to the taxpayer.
Enter any comments or notes for this refund or adjustment.
Enter the amount of the tax, penalty, interest, attorney fees, and discount amounts.
NOTE: If the amount being entered is debiting the account (refund to the taxpayer) then the number is positive. If the amount being entered is crediting the account (payment from the taxpayer) then the number is negative.
Note: Notice the "[>] Record 1 of 3". After entering the adjustment information and clicking on the add button, click on the "[>]" button to go to the next record.
Repeat this process for all the adjustment and refunds to be entered. After all the adjustment and refunds are entered, click on the “L” in the application control section to get an adjustment listing to verify that they have been entered correctly (See "How To... List Unposted Adjustments").

Note: At this point, the adjustments have not been posted to the accounts. If you look at page 3 of the account and click on the "Transactions" button, there will be an "A" in the "STATUS" column meaning that the adjustment has not been posted yet. The "P" means the transaction has been posted.
|
| < Previous page | Next page > |